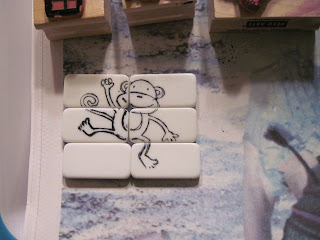
Stamp with StazOn ink onto dominoes. (These are little dominoes from the Dollar Tree.)
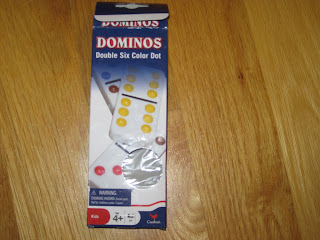
Dollar Tree dominoes
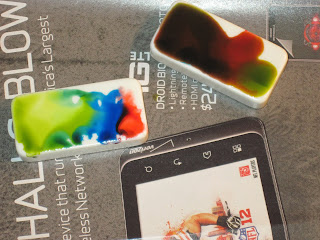
Alcohol inks drying on dominoes. Well worth the extra step because it makes them so pretty.
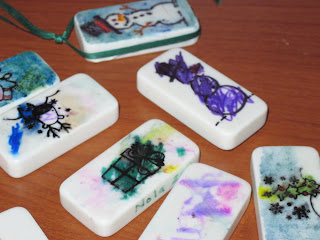
So much fun to color. Any age can do it. These were made by my two year old. She loved having ornaments on the tree she made and giving magnets to people's homes we visited in December.
Small puzzle we made with a large stamp and small dominoes. We colored in the background with a pattern to help the two year old put the puzzle together but she did like it.
THIS is a great site that helped me successful at this project after my first attempted failed. (My image looked boring then started to wipe off. You HAVE to seal these. )
Dominoes- Magnets, Ornaments & NecklacesSupplies:
Dominoes (Dollar Tree has mini dominoes used for necklaces) (at least, one for each child)
Permanent markers
Perfect Medium clear ink pad; makes chalk stick ($3 @Michael's)
Chalk pastels or chalk squares
Q-tips
Stamps
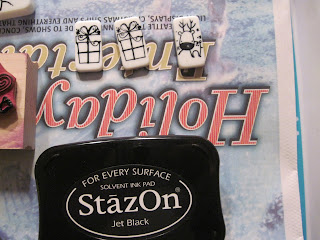
StazOn Permenant Ink Pad ($8 @Michael's)
Sealent choices :
Mod-podge or
Krylon's Gloss UV-Resistant Clear Acrylic Coating or
Varathane Polyurethane-Interior Water Based spray
Magnets
Ribbon
Hot glue gun
Instructions:
Stamp the dominoes with the StazOn ink. Let dry.
1.) Draw on dominoes with permanent markers.
2.) Put domino in Perfect Medium clear ink.
3.) Color with chalk on Q-tips
4.) Hot glue magnet on back or ribbon around edge
5.) Seal with one of the listed supply items
6.) Let dry.
Tips:
*You need to stamp the dominoes. The ink is permanent on EVERYTHING and it takes time to dry.
* This is a cute gift project. If you purchase small dominoes at the Dollar Tree students can make multiple.
*Alcohol Ink will stain dominoes as well. If you are purchasing alcohol inks for another project, they would be fun to use with this project also.
 Original photo that I can't figure out how to turn.
 Drawing with the starting of watercolor for the eyes and mouth.
 Textured background, skin color and pjs.
 More details.
 First shadow. So scary to paint with black over the majority of your painting!!!
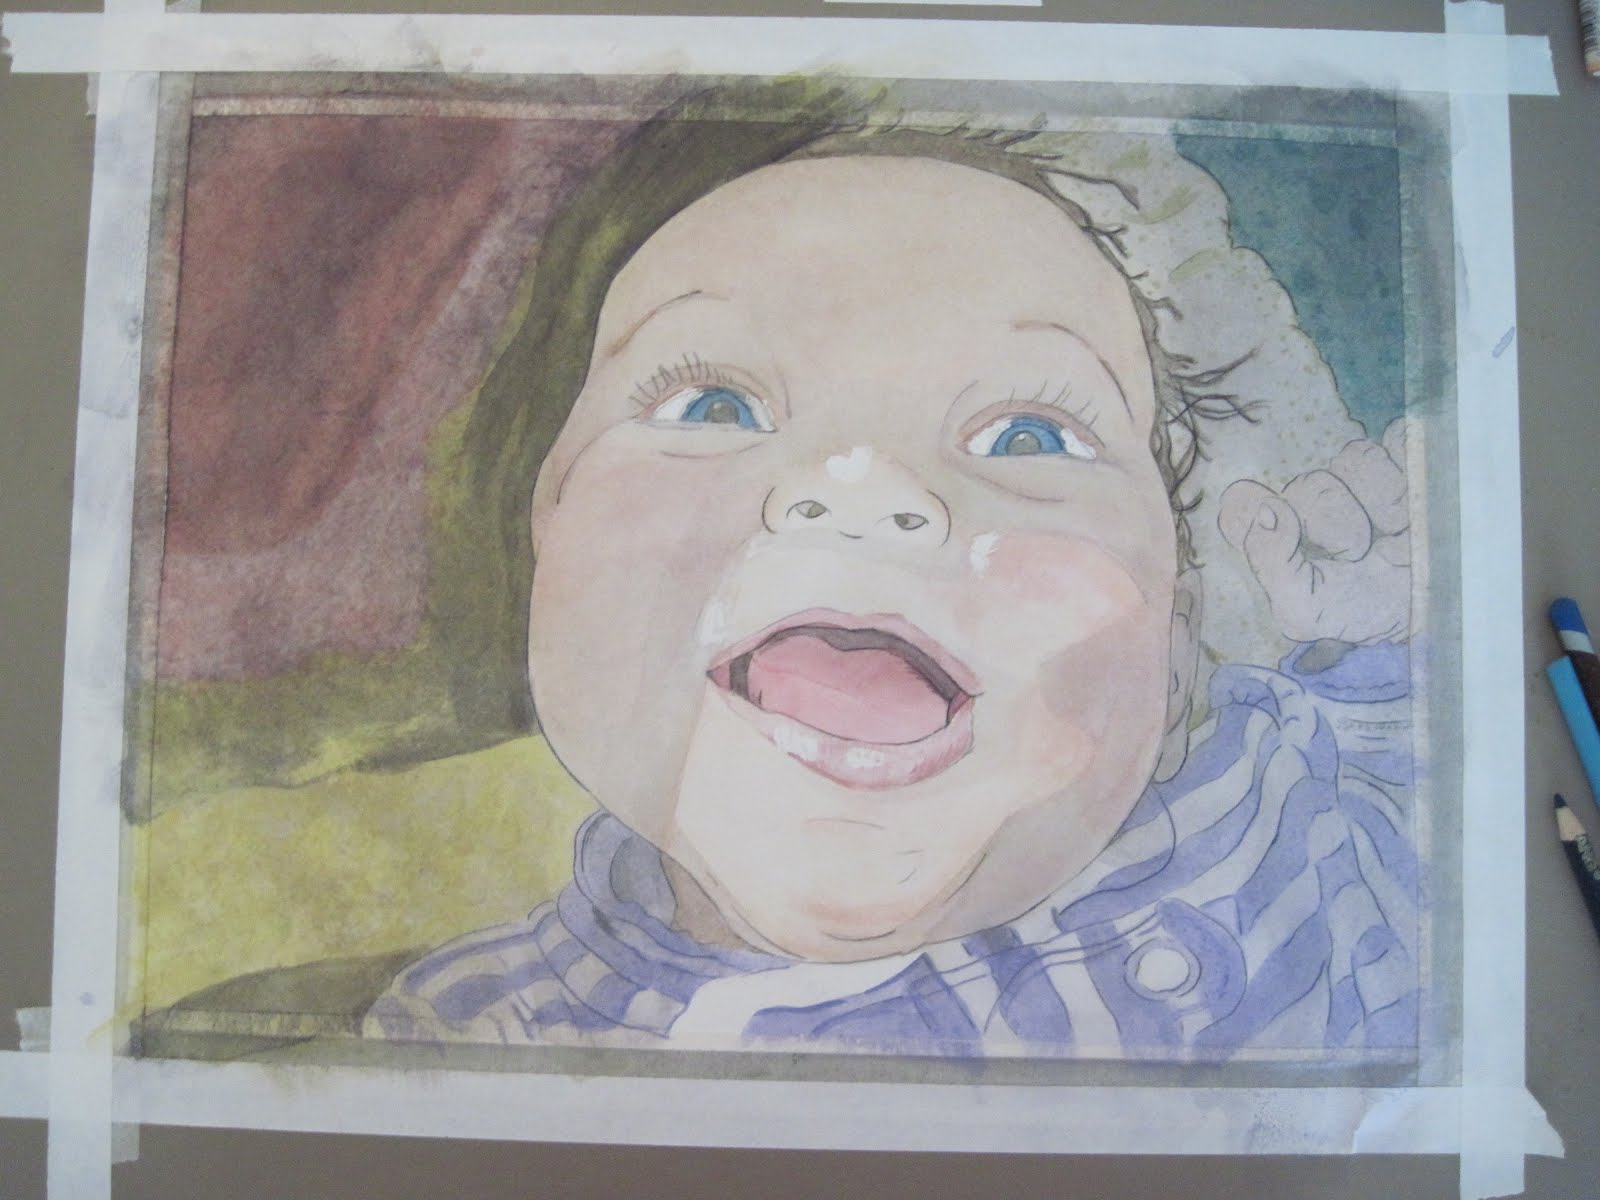 More shadows over hand and background. Remove resist on eyes, nose, lips, and cheeks.
 Darkening background.
 Completed.


